Web APIs has been around for quite a while and one can develop REST APIs now in all most all technology platforms. Certainly in Azure as well. In this blog post, I am going to describe how to create server less Azure functions that can work as REST APIs and how easy it is to create and test them locally and then publish to Azure Subscription.
Prerequisites
- Access to Azure subscription with permissions to create azure functions. The monthly Visual studio developer subscription would work.
- Some foundational and working knowledge of Azure function. If you are new to this, please refer to the following Microsoft documentation for a quick start. https://docs.microsoft.com/en-us/azure/azure-functions/
- Visual Studio (community edition or Visual Studio code would work)
Scenario and high level
We are going to assume a scenario where we need an API to create and retrieve customers in an online CRM database. For the sake of time and simplicity and also the purpose of this post is to build REST APIs via function apps, I am going have an in-memory list of customers maintained in my Azure functions. We’ll configure routes for POST and GET API calls.
Create a function app in Visual studio
I am using VS 2019 Enterprise edition. Click File -> New – Project and selection Azure Functions. And then Next.

Give it a name and Create.

Select HTTP Trigger. Also provide any Azure storage account. If you dont have one you can create it through Azure portal.

Click Create. This is the main function which will receive HTTP requests, process them and respond back. If you are familiar with MVC architectural pattern, this is your controller.

Before we dig into the code to make it work like an API. Lets create a model class. I’ll call it Customer. This is quite self-explanatory. I purposely didn’t allow setter methods for CustomerID and CreatedDateTime as I want the business logic to initialize it.
public class Customer
{
public string CustomerID { get; } = Guid.NewGuid().ToString(“n”);
public DateTime CreatedDateTime { get; } = DateTime.UtcNow;
public string FirstName { get; set; }
public string LastName { get; set; }
public string Email { get; set; }
}
Adding one more model class which is a stripped down version of the Customer class. This is to parse the message we receive through API Post call. The API only requires the three attributes of the customer being created.
public class CustomerCreate
{
public string FirstName { get; set; }
public string LastName { get; set; }
public string Email { get; set; }
}
Now change the main controller function as depicted here. I have highlighted some of the changes to look closely and understand. We are adding the customer received in a static list. Configured the API route for this function and allowed only POST call. I also changed the authorization level to Anonymous so that we can test it quickly. off course in real would you dont want to do it.
POST /api/customer

Now add one more method for GET call. This will return all the customers added in the list.
GET /api/customer

We should add one more fucntion to get the speicfic customer by customerID. So we can have a call like
GET /api/customer/{customerId}

Test the API
Although you can publish the function app to the Azure portal subscription with a consumption based plan, but here we’ll do run it on local host and test it through postman. This would allow developers to develop and test it on their local dev environment.
Postman is a free platform for API development which allows you to test and play with any Web APIs. Download it if you haven’t already.
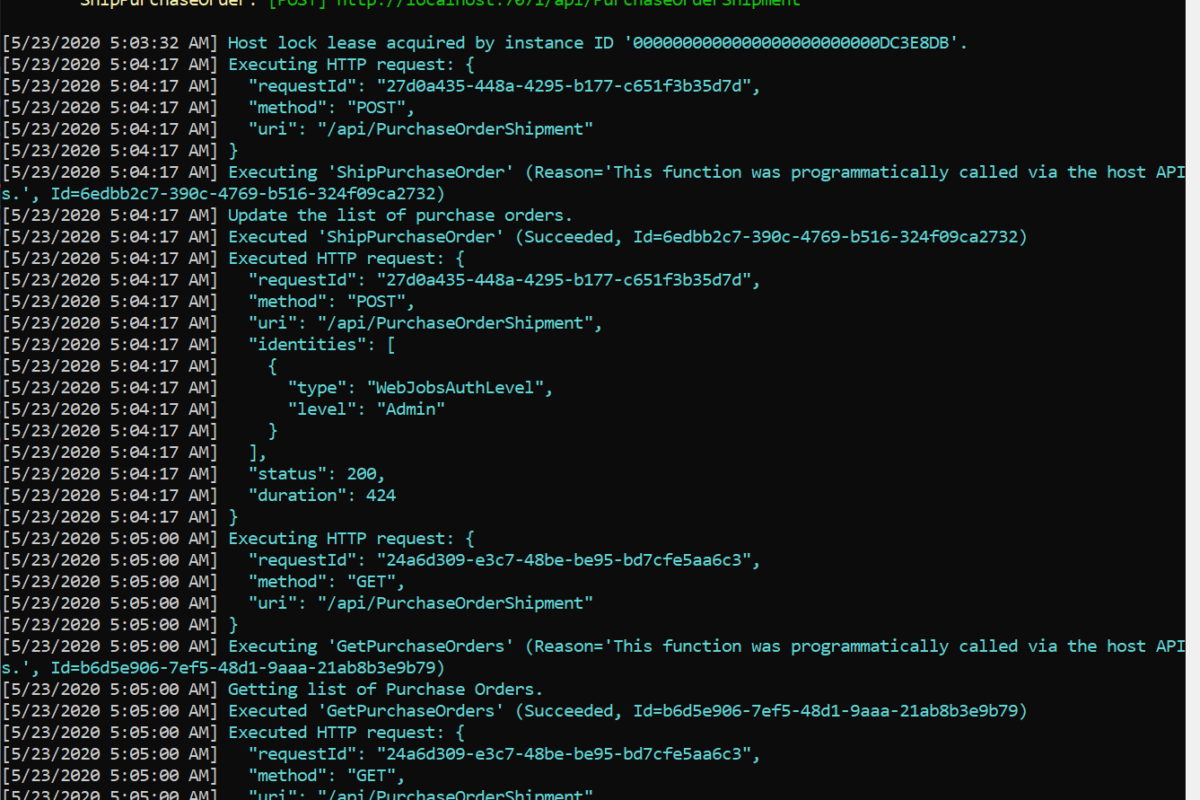
Lets run the visual studio project and you will find the runtime will publish the REST APIs to local host at some arbitrary port.

Now run the Postman, and call the Post method first to add a customer record. Make sure you get the 200 OK status returned.

Now do a GET to retrieve all customers. Since I added a couple of more customers, I see three records returned in JSON format. Copy any Customer ID for the next step.

Now make a GET call with the copied Customer ID to retrieve only a specific record.

When you are done with your API development and ready to rock and roll and move to Testing or next phase, you can publish it right within from Visual studio to your Azure subscription.

Create a consumption plan if you dont have one already.

Provide storage account and other details and create.

Now publish it to the portal.

Once its published successfully, you will be able to see and manage this function App in Azure portal.

I hope you found it helpful.
For more amazing and helpful content, please subscribe to this blog.