In this article, I am going to list down steps to create an Azure LogicApp based recurring integration for bulk data export. If LogicApps is new to you, don’t worry, you can follow through the steps and have your logic app developed quite easily and learn through the process. For more details about logic apps, check this link.
https://docs.microsoft.com/en-us/azure/logic-apps/logic-apps-overview
We are going to work on a fictitious scenario.
Scenario
Contoso Consulting USA needs to provide Weekly Expense report of all of its employees’ travel expenses to their Payroll service provider. The payroll service provider can accept information in variety of formats including CSV files. They can grab the file from any blob storage or shared OneDrive. They would prefer to get the incremental export means they do support upserts.
High level steps
- Create a DMF (Data Management Framework) export project.
- Create and schedule a logic app that triggers every week on a defined time.
- Add trigger to execute every Monday night.
- Export a CSV file or a data package.
- Get the URL of the exported file (blob)
- Make sure the export is successful.
- Upload the CSV file or data package to shared OneDrive for business location.
- Send a notification email.
Pre-Req
- Valid Azure Subscription with permissions to create logic apps and access blob storage. Visual studio dev subscription (150 USD monthly credit) would work. Check your country-specific billing/limit if you are outsize US.
- System admin access on a FinOps environment. Both FinOps and Azure should be on same tenant.
- OneDrive for business account. Your organizational Microsoft office credentials comes with a OneDrive account which you can use.
Configure Data export project in D365 FinOps
1. In D365FO, navigate to System administrator -> Data management workspace.
2. Click on Data entities tile and look for entity ‘Expenses’. Select the entity and enable change tracking for the entire entity. This is required for incremental export.

3. Click on Export tile.

4. Provide some meaningful Group name and Description.

5. Click on Add entity button. Select Expense entity and provide values as mentioned down below. Default refresh type should be set to ‘Incremental push only’ if you want to generate and incremental export. Keep in mind that the first export will always be the full push means all the data will be exported. Click Add to add it in the project.

Develop and Schedule Logic App
6. Login to your Azure portal. https://portal.azure.com
7. Click on Create new resource and select Integrations -> Logic App

8. On Create screen, provide the required details. If you want to utilize any existing resource group to manage resources and cost under some existing plan. Otherwise you can create new. Click Review + Create and then Create to finish the deployment of LogicApp.

9. Once your deployment is finished, click Go to resource to access logic app web designer.

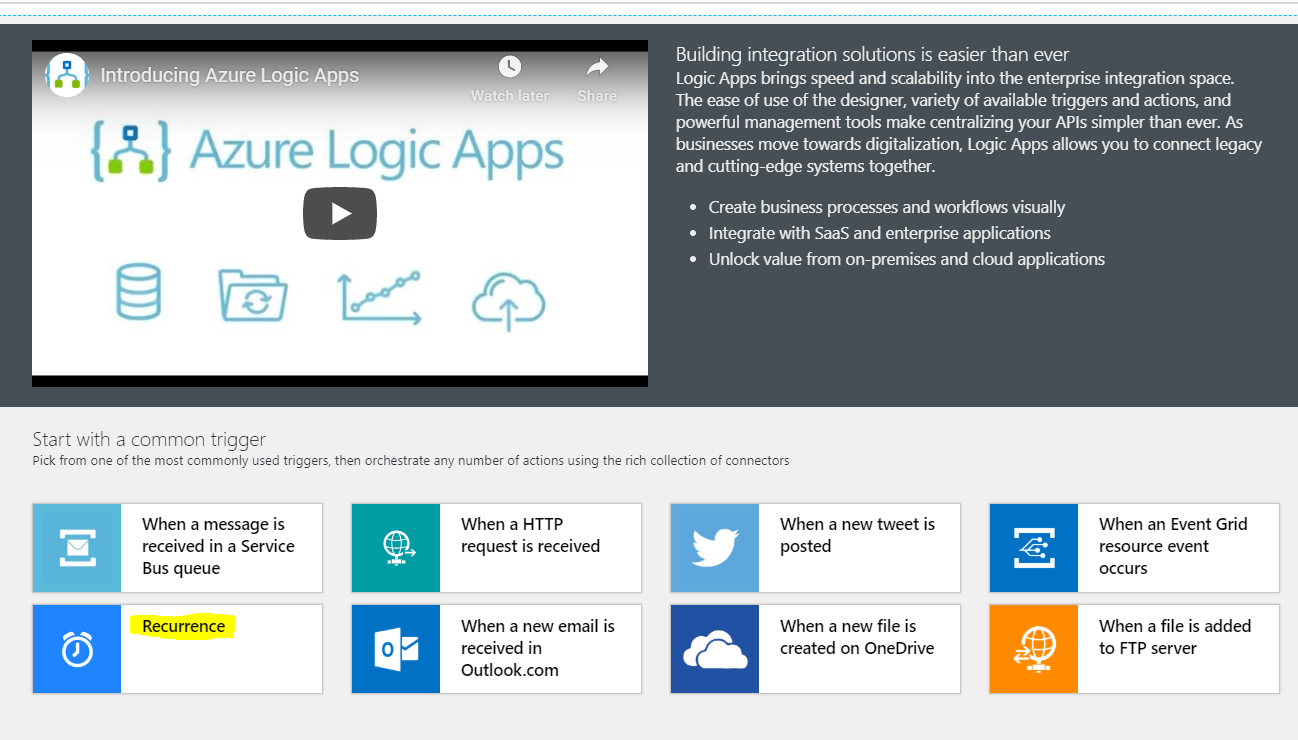
10. On Logic App designer, click on Recurrence to add your trigger of the app.

In logic app, there is a trigger and some actions. This is the final view of logic app when its built.

11. Recurrence – This is a trigger where you can setup when and how frequent you want the logic app to execute. Essentially this will start the logic app which will orchestrate the data file generation and movement. Click add parameters to add time zone, hours and specific days.
12. Initialize DMFExecutionID – you can add next action and search for initialize. Here we are initializing the a string type variable (GUID) to use it as a unique batch job execution ID. Search for initialize in the actions and add ‘Initialize variable’. Then click on Value textbox, click on expression on the sidebar window and in fx column look for guid(), click ok.
13. Export project – This is a control action that you can add to provide a scope for some actions to execute together. Basically it’s a way of grouping actions in a single scope. Once you add a control, you can rename it to anything. I named it ‘Export project’. Search for scope action to find it.

14. Now in ‘Export Project’, click Add an action to add some nested actions under it.

15. Now search for ‘Until’ and add it. This is a loop control. Give it a meaningful name like ‘Until ExportToPackage Succeeded’

16. Now before you add a value to control the loop, add an action.

17. Next, search for ‘dynamics 365 for finance’ in Choose an action. Select ‘Execute action’

18. Next, you’ll have to sign in to your tenant.
19. Once you signed, you can select your FinOps environment from the drop down. Also select the Action as shown below. This is an OOTB OData action that will execute the DMF export project that we created earlier. Rename Execution action to ‘ExportPackage’

20. Now click on ‘Choose a value’ text field and select ‘OutputParameters’ is not equal to 00000000-0000-0000-0000-000000000000.

21. Add few parameters.
– executionID as the one which is initialized above
– definitionGroupId = ‘Expense export’ (this is the name of the export project created in FinOps.
– reExecute = No
– legalEntityID = USSI (select whatever legal entity you want to export from, I choose USSI from demo data since it does have expense report already).

22. In the same ‘Export package’ scope, add a condition to validate if the package is exported. It should be under control group of action.

23. Now define the condition. If value is-equals-to DMFExecutionID. The Value output parameters will contain the same execution ID that we provided while calling the execution action. This is basically the job ID that DMF maintains in the job history.

24. For false situation, it means the package can’t be exported so we can send an email to some alias or an admin to notify that logic app can’t be finished successfully. Add an Office 365 outlook > Send an email (V2) action.

25. You need to sign in first. Provide relevant details in Send email action.

26. For successful completion of package export, you need to add quite a few actions to move package from D365 FinOps Azure blob location to a OneDrive. You need to first grab a URL from blob where the exported file is stored.

27. Add a condition after until loop to check if the package URL is valid. You’ll select the value of the previous execution action that fetched the exported file URL.

28. If False, repeats steps 24 and 25 to send an email.
29. If true, first add HTTP Get action to retrieve content of file from Blob. Search for HTTP in action.

30. Set the Method to Get and URI as output value of execute action added in step 25.

31. Add action to create a file on OneDrive. Look for Onedrive in action search box. Select OneDrive for Business and then select Create file action.

32. Sign in to your OneDrive. You can use your organization office 365 or customers org’s sign in details.
33. Once signed in, provide the following details.
a. Folder path = / (you can create and designate a folder on OneDrive and add that path here as well)
b. File Name = Expenses.csv (you can be creative and use logic app expressions and built-in date and string functions to dynamics generate the file name here)
c. File Content = Here you need to provide the Body of the HTTP action form the earlier step.

34. Now you are done with designing your Logic App. Save it once again and correct any errors if you find any.
35. Close the designer and manually run the trigger.

36. Click refresh to check the Run history.
37. If its succeeded, your logic apps perfect. If it doesn’t, drill into the run history to find out the steps where it fails. The failing step itself provides details of the failures. Fix the issue and try again.

38. Now navigate to your OneDrive to find out the generated file.

If you want to grab the same file and see the run history in FinOps, follow the steps down here.
1. Click on the job history and then click on the Job. Notice this Job ID was the same as the executionID initialized in LogicApp.

2. Now click on Download Package and open up the package to extract the CSV file. You can get the same file form DMF as well.

Great article, Fahad!
As Im starting to look into power platorm to make it work for some tasks, this article of your covers an exact scenario I am dealing with while enabling expense management for the company.